
Remove the cone by unscrewing the 6 screws on the camera side.
Carefully lift the cone over the lens away from the camera.
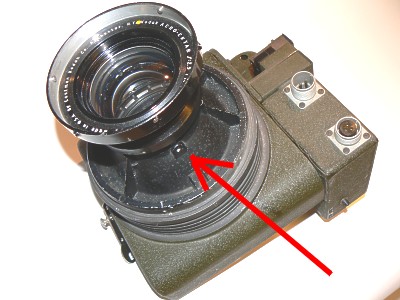

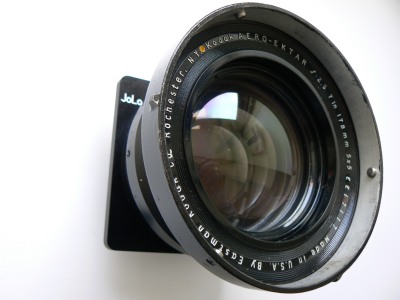
Left photo shows the Kodak Aero lens which is screwed in a cup shaped mount.
The lens itself is screwed into the cup shaped mount and hold on its place by 3 screws which are visible from the outside (arrow) . However there is one more screw hidden inside the housing next to the lens thread. We'll see about that later.
Now cover the lens with a cloth or even better, if available, with the lens cap.
Replace the camera in such a way that the winding key is pointed down and the film-magazine is on your right side.
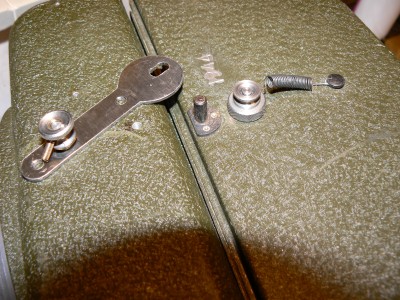

On top of the camera you can see the lock which holds the magazine close against the camera. Remove the screws and the lock.
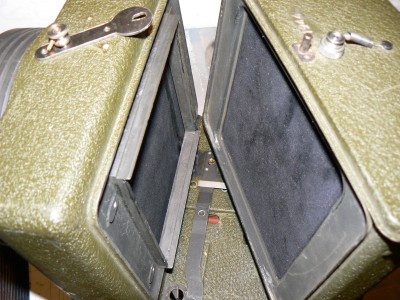
Now you can split both parts of the camera. Put the film-magazine away and lift the left of the camera (with the lens mounted on) over the bolt.


Free your workbench from all screws and parts to avoid them touching and thus damaging your lens surface while working.
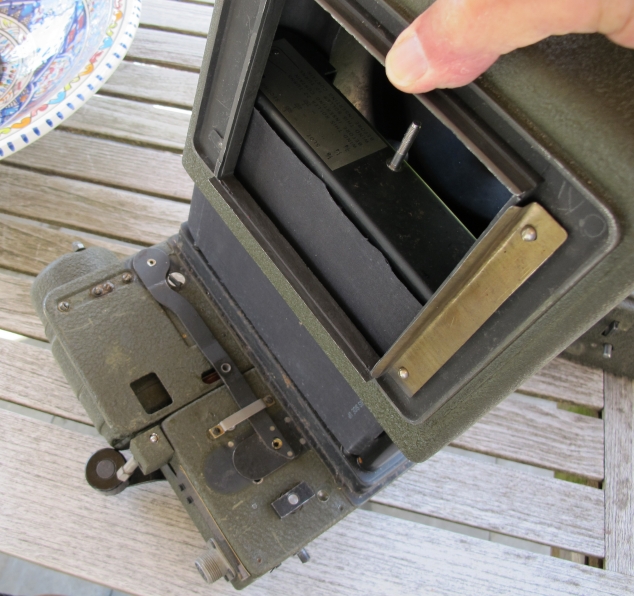
Swing the camera upside down. The lens on the workbench with the camera housing on top. You can see just one screw close to the lens. You may give it a few turns anti clockwise. This screw is very important because it squeezes the upper tread to hold the lens for turning. Once this screw has been loosen a bit the lens can be screwed out but not before you unscrewed the 3 bolts of the cup shaped mount

.
You may now carefully try if the lens moves when turning it anti clockwise.
Next step is to mount the Aero lens on a JoLo Lens Board for perfect fitting to your Speed Graphic camera.
Find out how to do that by following this link:
Mounting instructions JoLo lens Board.
Technical pages Home Jo Lommen Camera